Mastering the Art of Milk Frothing with Your Breville Coffee Machine
Introduction
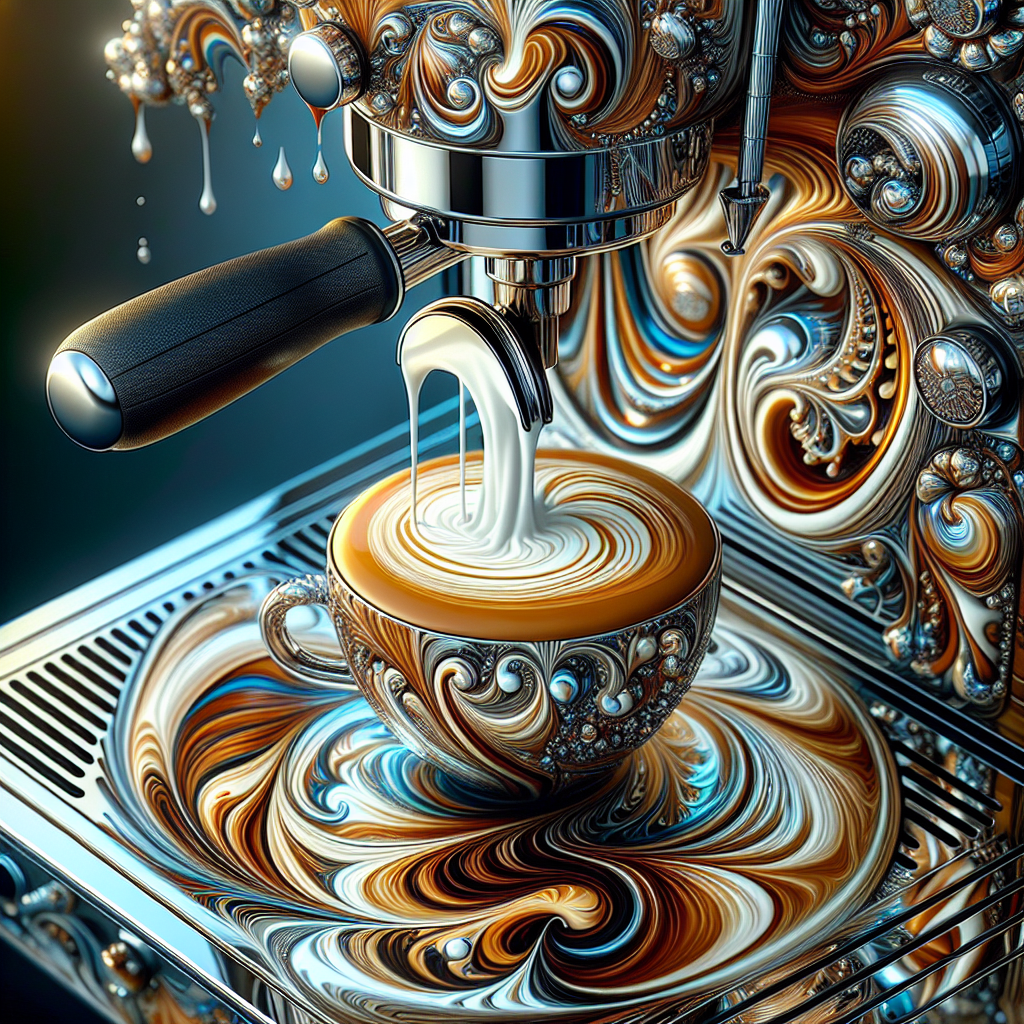
Milk frothing is a fundamental technique in crafting the perfect coffee drinks such as lattes, cappuccinos, and macchiatos. Using a Breville Coffee Machine can significantly elevate your frothing game, thanks to its advanced features and reliable performance. The goal is to become proficient in milk frothing using your Breville machine to create coffees that rival those from top cafes.
| Milk Type | Froth Consistency |
|---|---|
| Fresh, Whole Milk | Creamy foam |
| Skim Milk | Lighter froth |
| Almond Milk | Denser froth |
| Soy Milk | Creamy texture |
1. Preparing Your Breville Coffee Machine
Proper preparation of your Breville Coffee Machine is crucial for achieving the best frothing results. Here’s how you can get your machine ready:
- Choose the right beans for maximum flavor: The type of beans you choose affects the overall taste of your coffee. Opt for high-quality, freshly roasted beans.
- Regular cleaning: Clean your machine regularly to maintain optimal performance and taste.
- Preheat the machine: Always preheat your machine for at least 20 minutes before brewing to ensure the best results.
- Adjust machine settings: Check and adjust the machine’s settings to suit your coffee preparation style.
- Review manuals or online resources: Familiarize yourself with your machine’s capabilities.
- Ensure water reservoir is filled: Use fresh, clean water to prevent any impurities from affecting the taste.
- Regular descaling: Descale the machine to avoid mineral build-up that can impact performance.
- Inspect and clean the steam wand: Keep the steam wand clean to ensure it functions properly at all times.
2. Mastering the Espresso Shot
The foundation of any great coffee drink is a perfect espresso shot. Here’s how to achieve it with your Breville Espresso Machine:
- Grind size: The grind should be fine but not powdery.
- Level the coffee grounds: Use a wire distribution tool to ensure even coffee distribution in the portafilter.
- Proper tamping: Tamping should be firm but not overly aggressive to ensure uniform extraction.
- Extraction time: Aim for a 1:2 ratio with a 20-30 second extraction time for the ideal espresso.
- Adjust dosing: Modify the dosing amount based on your taste preference.
- Manual mode: Use the machine’s manual mode for greater control over the extraction process.
- Regular calibration: Calibrate your grinder to maintain a consistent grind size.
- Taste and adjust: Always taste your espresso and make adjustments to improve its flavor profile. For more coffee drink recipes, visit here.
3. Choosing the Right Milk for Frothing
The type of milk you use significantly impacts the froth’s texture and quality. Here’s what you need to consider:
- Use fresh, whole milk: Whole milk gives you the best frothing quality with a creamy foam.
- Store milk cold: Cold milk improves frothing results.
- Different milk types: Skim milk creates lighter froth, while almond and soy milk produce denser froths.
- Avoid ultra-pasteurized milk: Such milk doesn’t froth well.
- Identify the best brands: Experiment with different brands to find the one that gives the best froth.
- Right amount of milk: Use an appropriate amount of milk for your jug size to avoid overflow.
- Cold jug: Keep your milk jug cold before frothing.
- Stainless-steel jug: Choose a stainless-steel jug for better temperature control.
4. The Frothing Process
Mastering the frothing process involves a few key steps:
- Purge the steam wand: Release a small amount of steam to clear any residual water from the wand.
- Position the wand: Place the steam wand just below the surface of the milk to introduce air.
- Listen for the “hissing” sound: The sound indicates proper aeration.
- Continue frothing: Gradually lower the jug to create microfoam.
- Create a whirlpool effect: Slightly angle the jug to evenly mix the foam.
- Monitor temperature: Use a thermometer or touch to ensure milk reaches 150-155°F.
- Turn off steam wand: Stop steaming once milk reaches desired texture and temperature.
- Clean immediately: Clean the steam wand right after frothing to prevent milk residue build-up.
5. Pouring and Latte Art
Pouring and creating latte art can be the most enjoyable part of the coffee-making process. Here are some tips:
- Tap the jug: Tap the milk jug on the counter to remove large air bubbles.
- Swirl the jug: Swirl the jug to integrate foam and milk for a smooth consistency.
- Practice pouring techniques: Try different methods to create basic latte art designs.
- Simple designs: Start with simple patterns like hearts and rosettas before advancing to complex ones.
- Steady hand: Use a steady hand and controlled pour for clean lines.
- Experiment with cup sizes: Different cup sizes and shapes yield different results.
- Keep practicing: Consistent practice helps improve your latte art skills.
- Take photos: Document your creations to track progress and share with the coffee community. Explore more latte art techniques and further coffee drinks here.
Conclusion
Mastering milk frothing with your Breville Coffee Machine involves a combination of preparation, technique, and practice. By carefully preparing your machine, mastering your espresso shot, selecting the right milk, and perfecting your frothing technique, you can create delicious and visually appealing coffee drinks. Remember, consistent practice and adjustments are key to improvement. Explore other blog content and coffee-making tips, and don’t be afraid to experiment with different techniques and settings. Happy frothing!
Shop at Breville now!
https://breville.oie8.net/oqDqrE
Shop Breville Coffee Machine at Amazon now!
Click here